Introduction
Hey there, friend! Recessed lighting is a smooth trick we use to subtly highlight the beauty of our homes. It's like the gentle light of the setting sun seeping in from the horizon. But just as an old cactus sags under the burden of years, your recessed lights can start to droop, exposing your drywall and making a dust storm right there in your room. So, let's gear up and tackle this sagging problem, and restore the beauty of your indoor skies.
- Safety First!:First up, safety before anything! Flip the circuit breaker off. Even when the wall switch is off, there's still a chance of current buzzing inside. So, to keep away from an unpleasant surprise, just turn off the breaker.
- Assemble Your Tools: Next, assemble your warriors for this task. You'll need your trusty screwdriver, a voltage tester, fresh spring clips, and a drop cloth to catch any debris and protect your floors or furniture. Don't forget your steady ladder and a spare bulb for the installation.
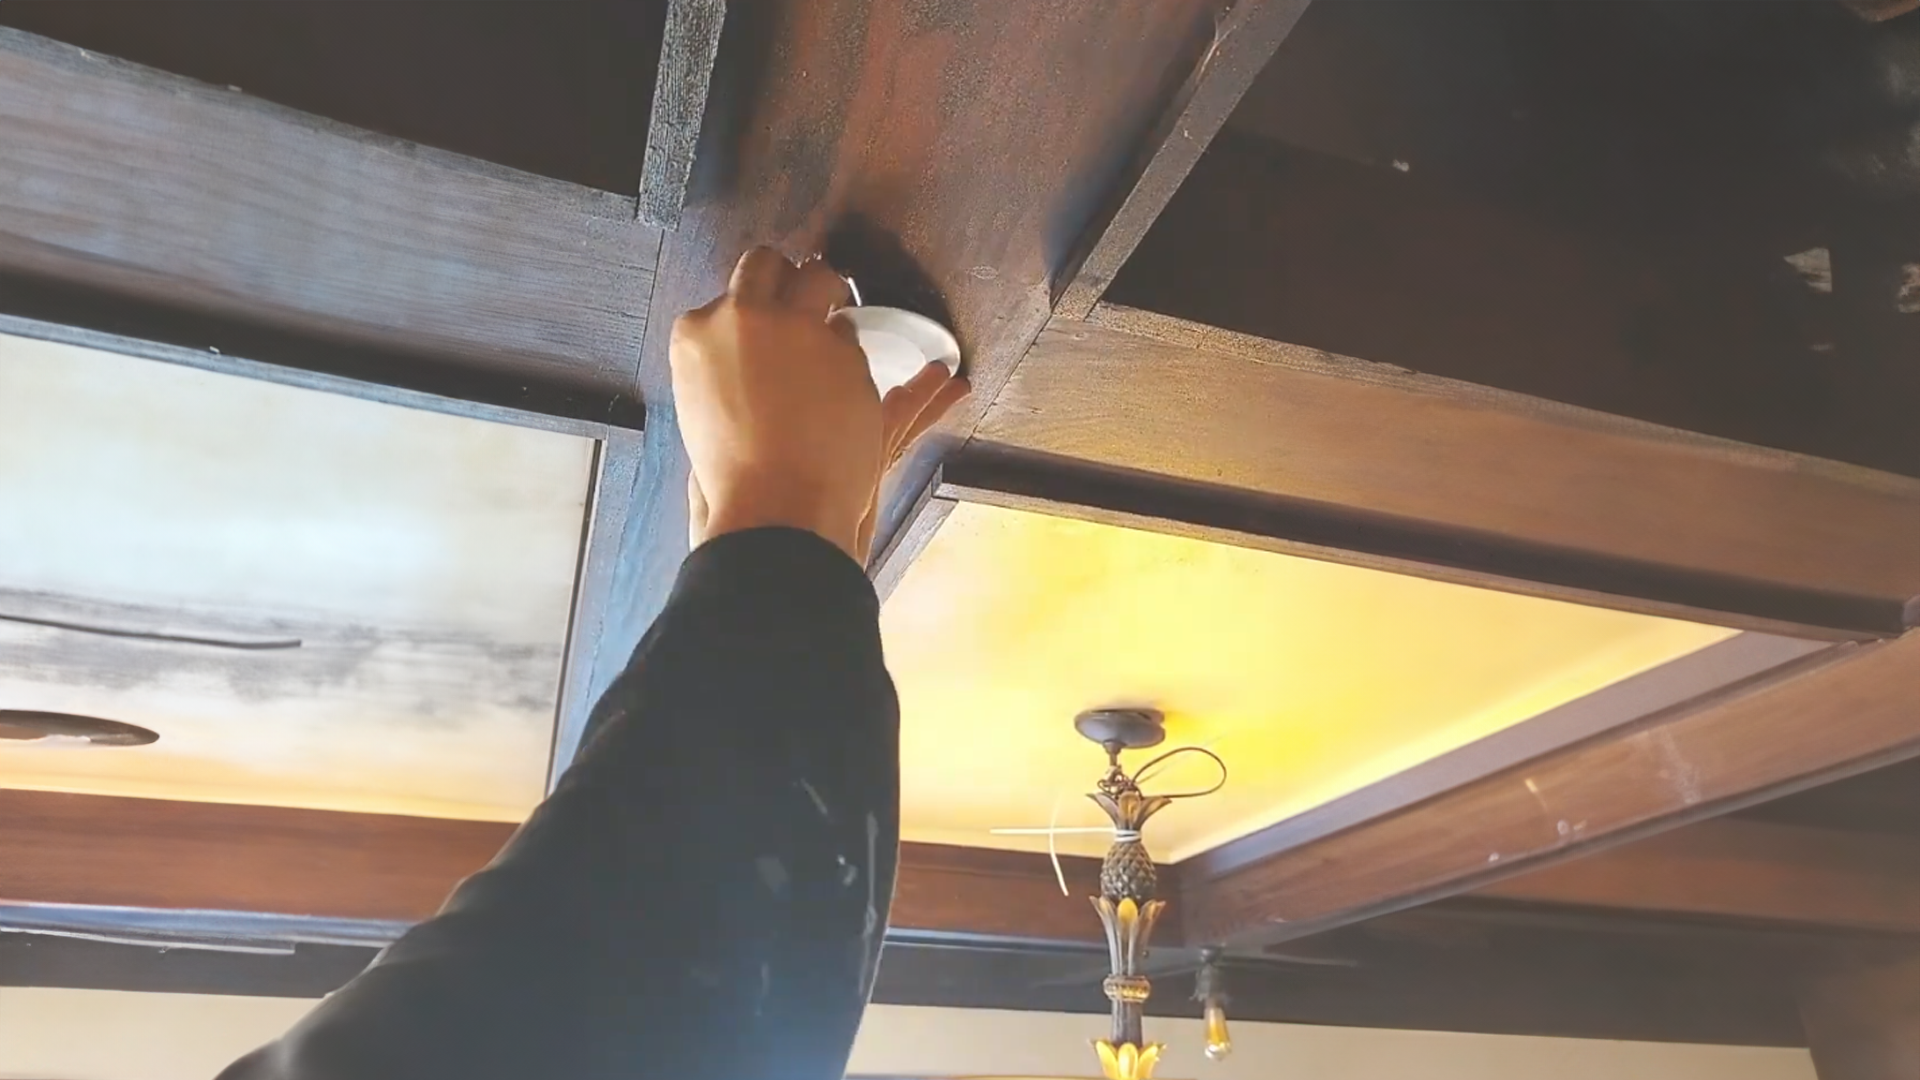
- Begin the Fix: Cool your bulbs before unscrewing them. Once that's done, use your screwdriver or needle-nose pliers to free the springs and unseat the trim. Check out the springs that were anchoring the trim to the fixture body. If you spot a spring looking more like a saggy old vine than a sturdy cactus spine, it's time to change.
Fixing Based on Trim Types
Now, your next steps depend on the kind of trim style your fixture has. Let's check out how to fix drooping recessed lights for common trim types:
- Non-Adjustable Trims: Unhook the spring clips from the socket plate or the fixture housing. This will free up the trim from the fixture or ceiling. Then, feed the new spring clips into the slots along the trim's edge and hook them back onto the socket plate. Now, just secure the trim back in place.
- Adjustable Trims: Squeeze the torsion spring arms together and unhitch them from the spring receivers. If your fixture is loose, lay the trim with springs upwards and press the sides to form a broader V-shape, just like a hawk spreading its wings. To reattach the fixture, just squeeze the spring sides, pop them back into the spring receivers and lock the trim into place.
- Clamp Fixtures: It has four black metal clips inside. If a clip is hanging loose, slide your flat-blade screwdriver into its slot and give a little push upward to snap it back to attention. If the clip's bent or gone AWOL, slide a new clip into the slot and use your screwdriver to coax it in.
The Finishing Touches
Once you've set your trim back in place, it should be as snug against the ceiling as a rattlesnake in a warm sand hole. Now, just fix the light bulb back in, and you can turn the circuit breaker back on. Remember, always ensure that your new bulb is the right wattage before flipping the switch to avoid any fixture or wiring damage.
Conclusion
And there you have it! With these handy tips, you'll keep your recessed lights standing tall and bright, just like the indomitable spirit of our native lands.
Share:
8 Solutions for Common Issues in Pathway Lighting
How to Fix Common Solar Light Issues