How to Install Recessed Lighting: A DIY Guide for Brightening Your Space
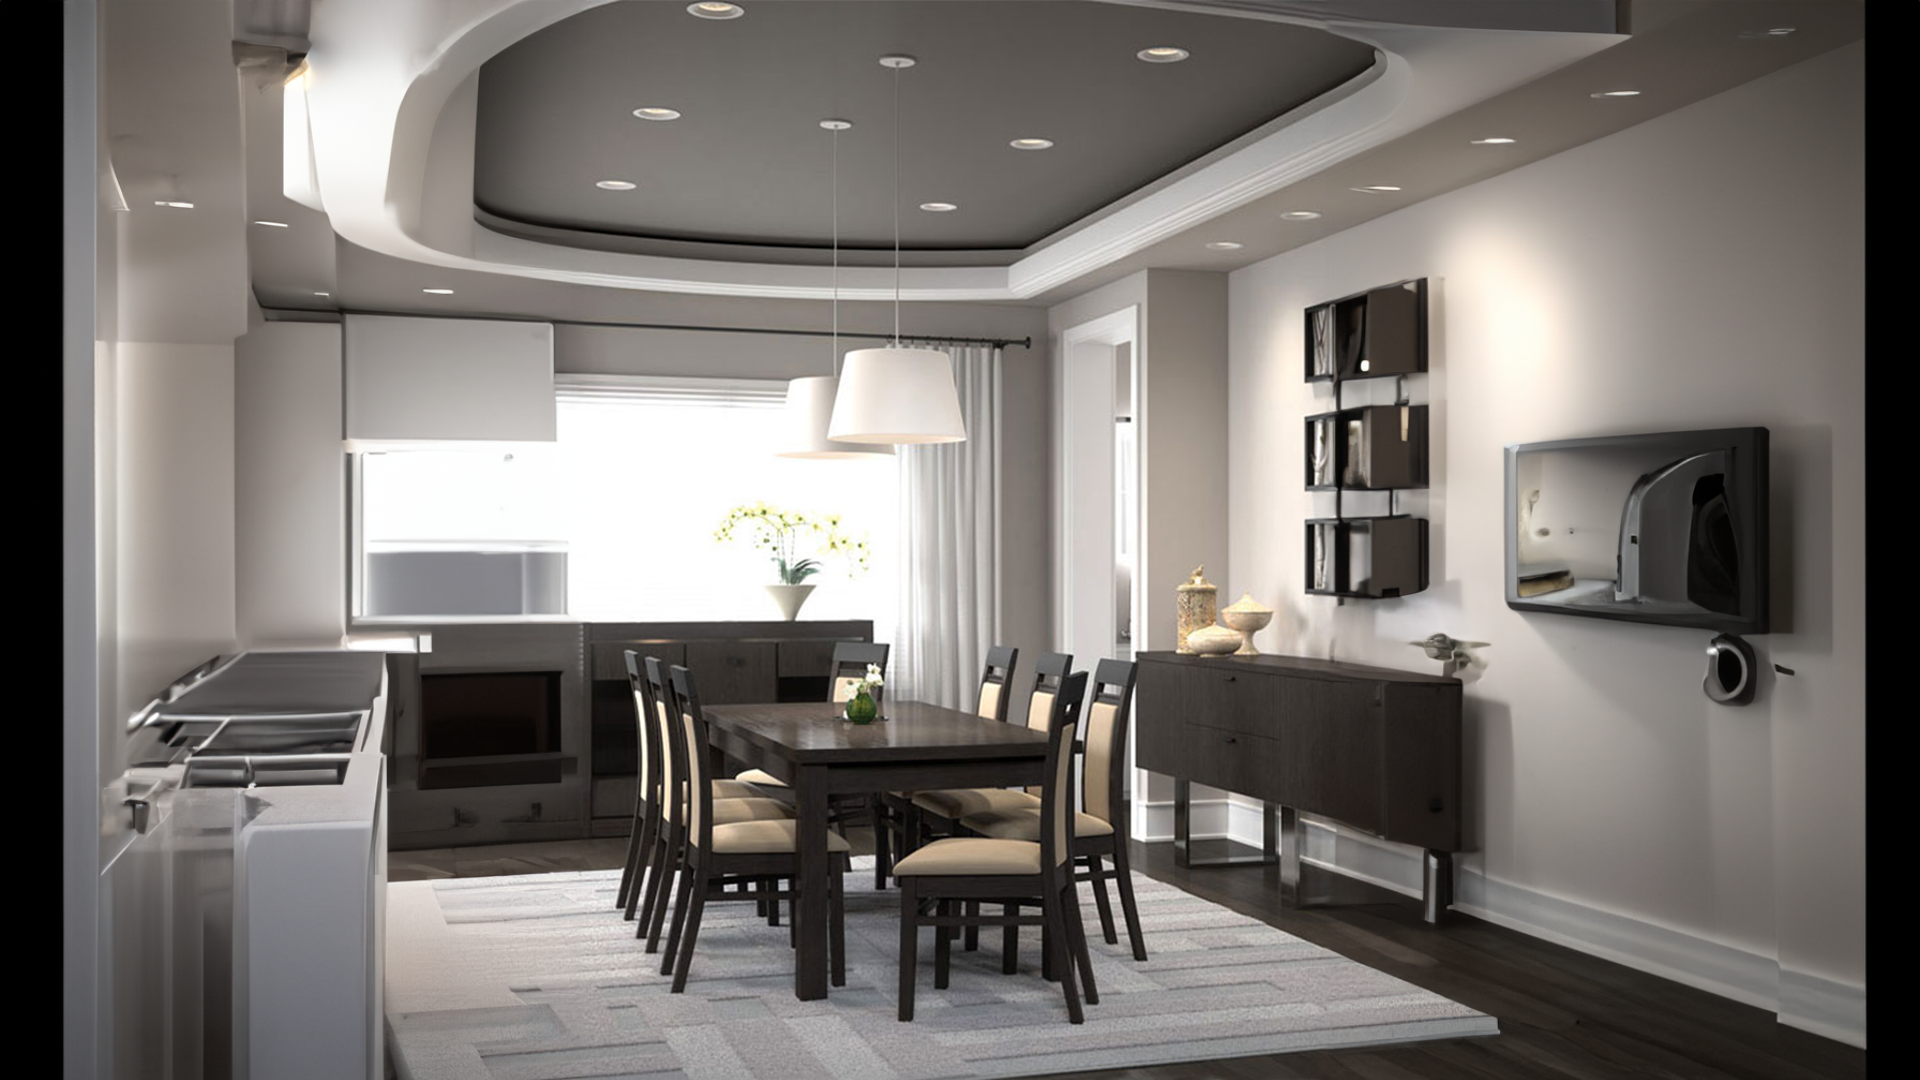
Brightening up your home with recessed lighting is easier than you might think. These sleek fixtures provide subtle illumination while blending seamlessly into your ceiling. Known as canister lights, can lights, or downlights, recessed lighting is a popular choice in modern homes, accentuating clean lines and geometric aesthetics.
If you have access to a nearby power source, you can confidently take on the installation of LED recessed lighting in your ceiling. However, keep in mind that introducing a new power source can increase project duration. This can be accomplished either by wiring your own circuit or enlisting the help of a professional electrician. If you choose the DIY route, it's crucial to have a solid understanding of the amp rating for each fixture and ensure a safe distance between the recessed lights and the ceiling joists.
* Prices seem high? Could be multi-unit packs. Check your cart for details.
Table Of Content
- Essential Tools and Materials
- Prioritizing Safety
- Navigating Codes and Permits
- Evaluate Your Circuits
- Choosing the Perfect Fixtures
- Factoring in the Cost
- Step-by-Step Guide to Installing Recessed Lights
- Frequently Asked Questions
Essential Tools and Materials
To successfully install recessed lights, gather the necessary equipment and tools. This includes a hole saw or drywall jab saw, stud-finder, wire ripper, wire stripper, side-cutting pliers, voltage tester, breathing protection, and a piece of plywood large enough to support you while working in the attic. Additionally, ensure you have the required materials, such as old-work or remodel recessed lights and the appropriate electrical cable
Prioritizing Safety
Safety should always be a top concern when working with electrical systems. Start by turning off the circuit breaker that supplies power to the electrical cable you're working on. If the circuit hasn't been connected yet, wait until the recessed lights are installed before making the final connection. Use a voltage tester to ensure the circuit is inactive.
When working above ceilings, it's crucial to wear proper breathing protection. Stay cautious of any roofing nails protruding from the roof and take care to only walk on rafters or joists to avoid accidentally falling through the ceiling drywall. To provide a stable work surface, utilize a piece of plywood that spans a few rafters.


* Prices seem high? Could be multi-unit packs. Check your cart for details.
Navigating Codes and Permits
Before embarking on any home improvement project, it's important to adhere to local regulations and obtain the necessary permits. Most communities require permits for enlarging, building, or modifying residential lighting systems, including recessed lighting installation. Make sure to check with your local permit office to determine if a permit is required for your project.
Evaluate Your Circuits
When it comes to recessed lighting, one crucial aspect to consider is the electrical setup. This can be approached in two ways: utilizing an existing power source or opting for a dedicated electrical circuit designed specifically for this project. The feasibility, cost, and installation convenience heavily rely on the availability of electricity at the beginning of the recessed light installation. If you're embarking on an installation venture in a pre-existing ceiling, it's essential to grasp the amp rating of each fixture. It's worth noting that most 20-amp circuits or switches can only accommodate up to 12 lights.
Option 1: Leveraging an Existing Circuit
In some cases, an existing circuit might already provide power to a ceiling light or a ceiling fan positioned near the room's center. Alternatively, if you've already installed recessed lighting spanning the joists, extending the light run could be a viable choice. Exploring the attic might offer valuable insights into potential spare circuits. It's not uncommon to find live circuits hidden behind blank faceplates on the ceiling or wall.
Option 2: Establishing a New Circuit
Opting for a new circuit entails running an electrical cable from the electric service panel to the switch, and subsequently, from the switch to the initial recessed light in the series. This cable can be discreetly routed through the ceiling, ensuring a seamless installation process.
* Prices seem high? Could be multi-unit packs. Check your cart for details.
Choosing the Perfect Fixtures
When it comes to recessed lighting, it's crucial to select the right fixtures for your needs. Consider purchasing old-work or remodel recessed lights, which eliminate the need for attachment to ceiling joists. These lights conveniently fasten directly to the ceiling drywall.
If your ceiling contains insulation, opt for IC-rated recessed lights. They are designed to be covered with insulation, ensuring safety and efficiency. On the other hand, for ceilings without insulation, non-IC-rated recessed lights are suitable, but make sure they have sufficient clearance above and around the light housing in the ceiling area.
Factoring in the Cost
If you're contemplating the cost of recessed light installation, doing it yourself can save you a significant amount compared to hiring an electrician. Professional installation typically charges around $150 to $300 per light installed. However, keep in mind that recessed lights are often installed in multiples, so the overall expense can reach up to $1,800 for six lights.
When you choose the DIY route, the primary cost will be the price of the lights themselves, ranging from $10 to $55 per fixture. Additionally, you'll need a short length of 14-gauge electrical cable.
Step-by-Step Guide to Installing Recessed Lights
Remember to exercise caution and prioritize safety throughout the installation process. If you have any doubts or concerns, consult a professional electrician for assistance.
| Step | Action |
|---|---|
| 1 | Prepare and mark hole locations |
| 2 | Route wiring to the ceiling hole |
| 3 | Connect wires to the recessed light |
| 4 | Place the light in the ceiling hole |
| 5 | Install the recessed light trim |
| 6 | Choose and install the appropriate bulb |
| 7 | Wire the circuit to the service panel |
Step 1: Preparing for Installation
- Ensure your safety by wearing protective eyewear.
- Use a stud-finder to locate a suitable spot for each hole, making sure it is at least 6 inches away from a joist.
- Employ a paper template provided by most light manufacturers to draw a circle for the hole.
- To expedite the process for cutting multiple holes, utilize a drill with a hole saw attachment, which will save time compared to a jab saw.

Step 2: Routing the Wiring to the Ceiling Hole
- Establish the rough-in for the supply wire leading to the recessed light.
- If the wire will come from another recessed light, access the junction box of the previous light and connect the wire.
- Alternatively, if the wire will originate from its own circuit, guide the wire down through the designated hole.
- When a standard electrical ceiling box is present, it must be removed before installing a recessed light.

Step 3: Connecting the Wire to the Recessed Light
- Employ a wire ripper to remove approximately 4 inches of cable sheathing.
- Strip the coating from the wires within the sheathing.
- Pull the wire into the junction box of the light and establish the necessary connections.
- For instance, connect the black wire from the light to the corresponding black wire from the cable.
- Some lights may feature push-fit connectors, identifiable by color.

Step 4: Placing the Light in the Ceiling Hole
- Push the recessed light up into the designated hole in the ceiling.
- Ensure a snug fit without damaging the surrounding drywall.
- Most recessed lights come with a clip system that attaches to the inside top of the ceiling drywall.

Step 5: Installing the Recessed Light Trim
If the recessed light does not have built-in trim, install the separate trim once the light is securely in place on the ceiling.
Step 6: Choosing the Appropriate Bulb
- Follow the fixture's instructions to install the correct light bulb.
- Options include "A" bulbs (requiring reflective trim), "R" bulbs (featuring a built-in reflective surface), halogens (bright lights with controlled beams), or energy-efficient LEDs.
- WARNING: Using a light bulb that is too large or not suitable for the recessed light can pose a fire hazard.
Step 7: Wiring the Circuit to the Service Panel
- Pull the electrical cable into the electric service panel or circuit breaker panel.
- Attach the wire to an appropriately-sized circuit breaker, typically a 15 amp one.
- Insert the circuit breaker into an available slot on the service panel.
Note: Make sure to adhere to local electrical codes and consult a professional if needed.
FREQUENTLY ASKED QUESTIONS (FAQS)
Author

INFO-Leonlite
Tags
Ceiling Lighting
Recessed Lights
Spot & Track lighting
Share:
How to Illuminating Your Home's Exterior: Outdoor Wall Lighting Ideas with LED Wall Sconce Lights
Top 5 Recessed Lights (2023 Review)